
Magnus’s Magnificent Spirits Display Board
— Allo! Mick here! Don’t worry you won’t have to hear me rambling about Drybrushing today as we have a guest author! We often see inspiring and creative paintjobs on our Moonstone miniatures and this beautiful Shades Troupe we spotted on Facebook by Magnus Aagaard-Nielsen is no exception! What really made this collection stand-out from the crowd, however, was the incredible display board that went with it. We reached out to Magnus and he very kindly gave us a write-up of how he made this excellent display —

I've been playing the Spirits part of Shades for a little bit now, and with my third tournament playing Shades (second playing strictly Spirits) coming up, I found myself with what we Danes call "a luxury problem" - my Troupe was already painted! So I figured I'd make a display board for them, trying to turn heads at events and to make them look better at home, when not playing.
Sketching Out the Positions
I started out with some rough paper sketches, but quickly went ahead and roughed up the shape of the ground with XPS foam. I knew I wanted to have a shoreline for Sen'Ara to perch on a rock in the ocean, and I knew I wanted to fit a full 8 characters for the standard tournament format, as well as the 3 Psychopomps that are deployed with characters at the start of the game. Banshee, specifically, would be my eighth, as she had been teased on episode 60 of Mooncast.

Backdrop and Building up the Texture
From there, I quickly decided I also wanted a backdrop to really set the stage, so I cut up some cheap pine shelving from a local hardware store and made a rough L-shape.
I added cliff edges to some of my plateaus with pine bark, filling in the gaps and making the ground texture come together with drywall filler and Milliput, before finally laying a base coat of sand, acrylic paint and PVA glue all mixed up into a brown slurry. The bark rocks were coated with Modpodge mixed with black paint.
I stuck on a creepy looking tree from my pile of unpainted plastics, but didn't like its roots, so I created a core of leftover sprues glued together and sculpted a new base and roots for the tree from Milliput. I threw on some plastic gravestones as well, inspired by my wife's home region in Kentucky, where a few forgotten graveyards exist deep in the forest.

Painting the Backdrop
I'd spend evenings on the couch with my wife chipping away at my backdrop, using cheap acrylic paints directly on the wood. Slowly, but surely, my background came to life, green pastures giving way to a creepy forest, with trees inspired by the 1937 Snow White movie.
When the ground of the board was close to its final colors, I added a hazy mist in the bottom of the forest with my airbrush, masking off the front trees for the first layer of this. Then, I could finally glue (and nail, to be honest) the two pieces together.

The Epoxy Pour
Now, to tackle the water.
This was my second ever epoxy resin pour, and it turned out surprisingly well. I stuck on some plexiglass dams on the side, from a sheet I was lucky enough to find at my local recycling station, and secured the shoreline with gloss Modpodge and the edges of the dams with UV resin.
I also needed to make a negative space in my ocean corner for Sen'Ara to sit in, so I made a placeholder with a couple of 40mm poker chips, wrapped in food packaging to create a little wiggle room for a 40mm base, then wrapped in packing tape to not stick to the resin.

I did NOT succeed at making my dams spill proof, but thankfully I didn't spill much, and it was easy to clean off to get a decent open edge to the water.
I shaved off the tide marks at the edges of the resin after ripping off the dams and the placeholder, and built up some waves and sea foam, using two different acrylic gel water effects.

Part of your woooooooorld!
Finishing Touches
After filling, sanding and painting black the edges, I added the finishing touches: a skull here and there, a severed leg for Abra Cadaverous to be reaching for, as well as tufts and fallen leaves to match the basing of my miniatures.
Gimme dat Leg!
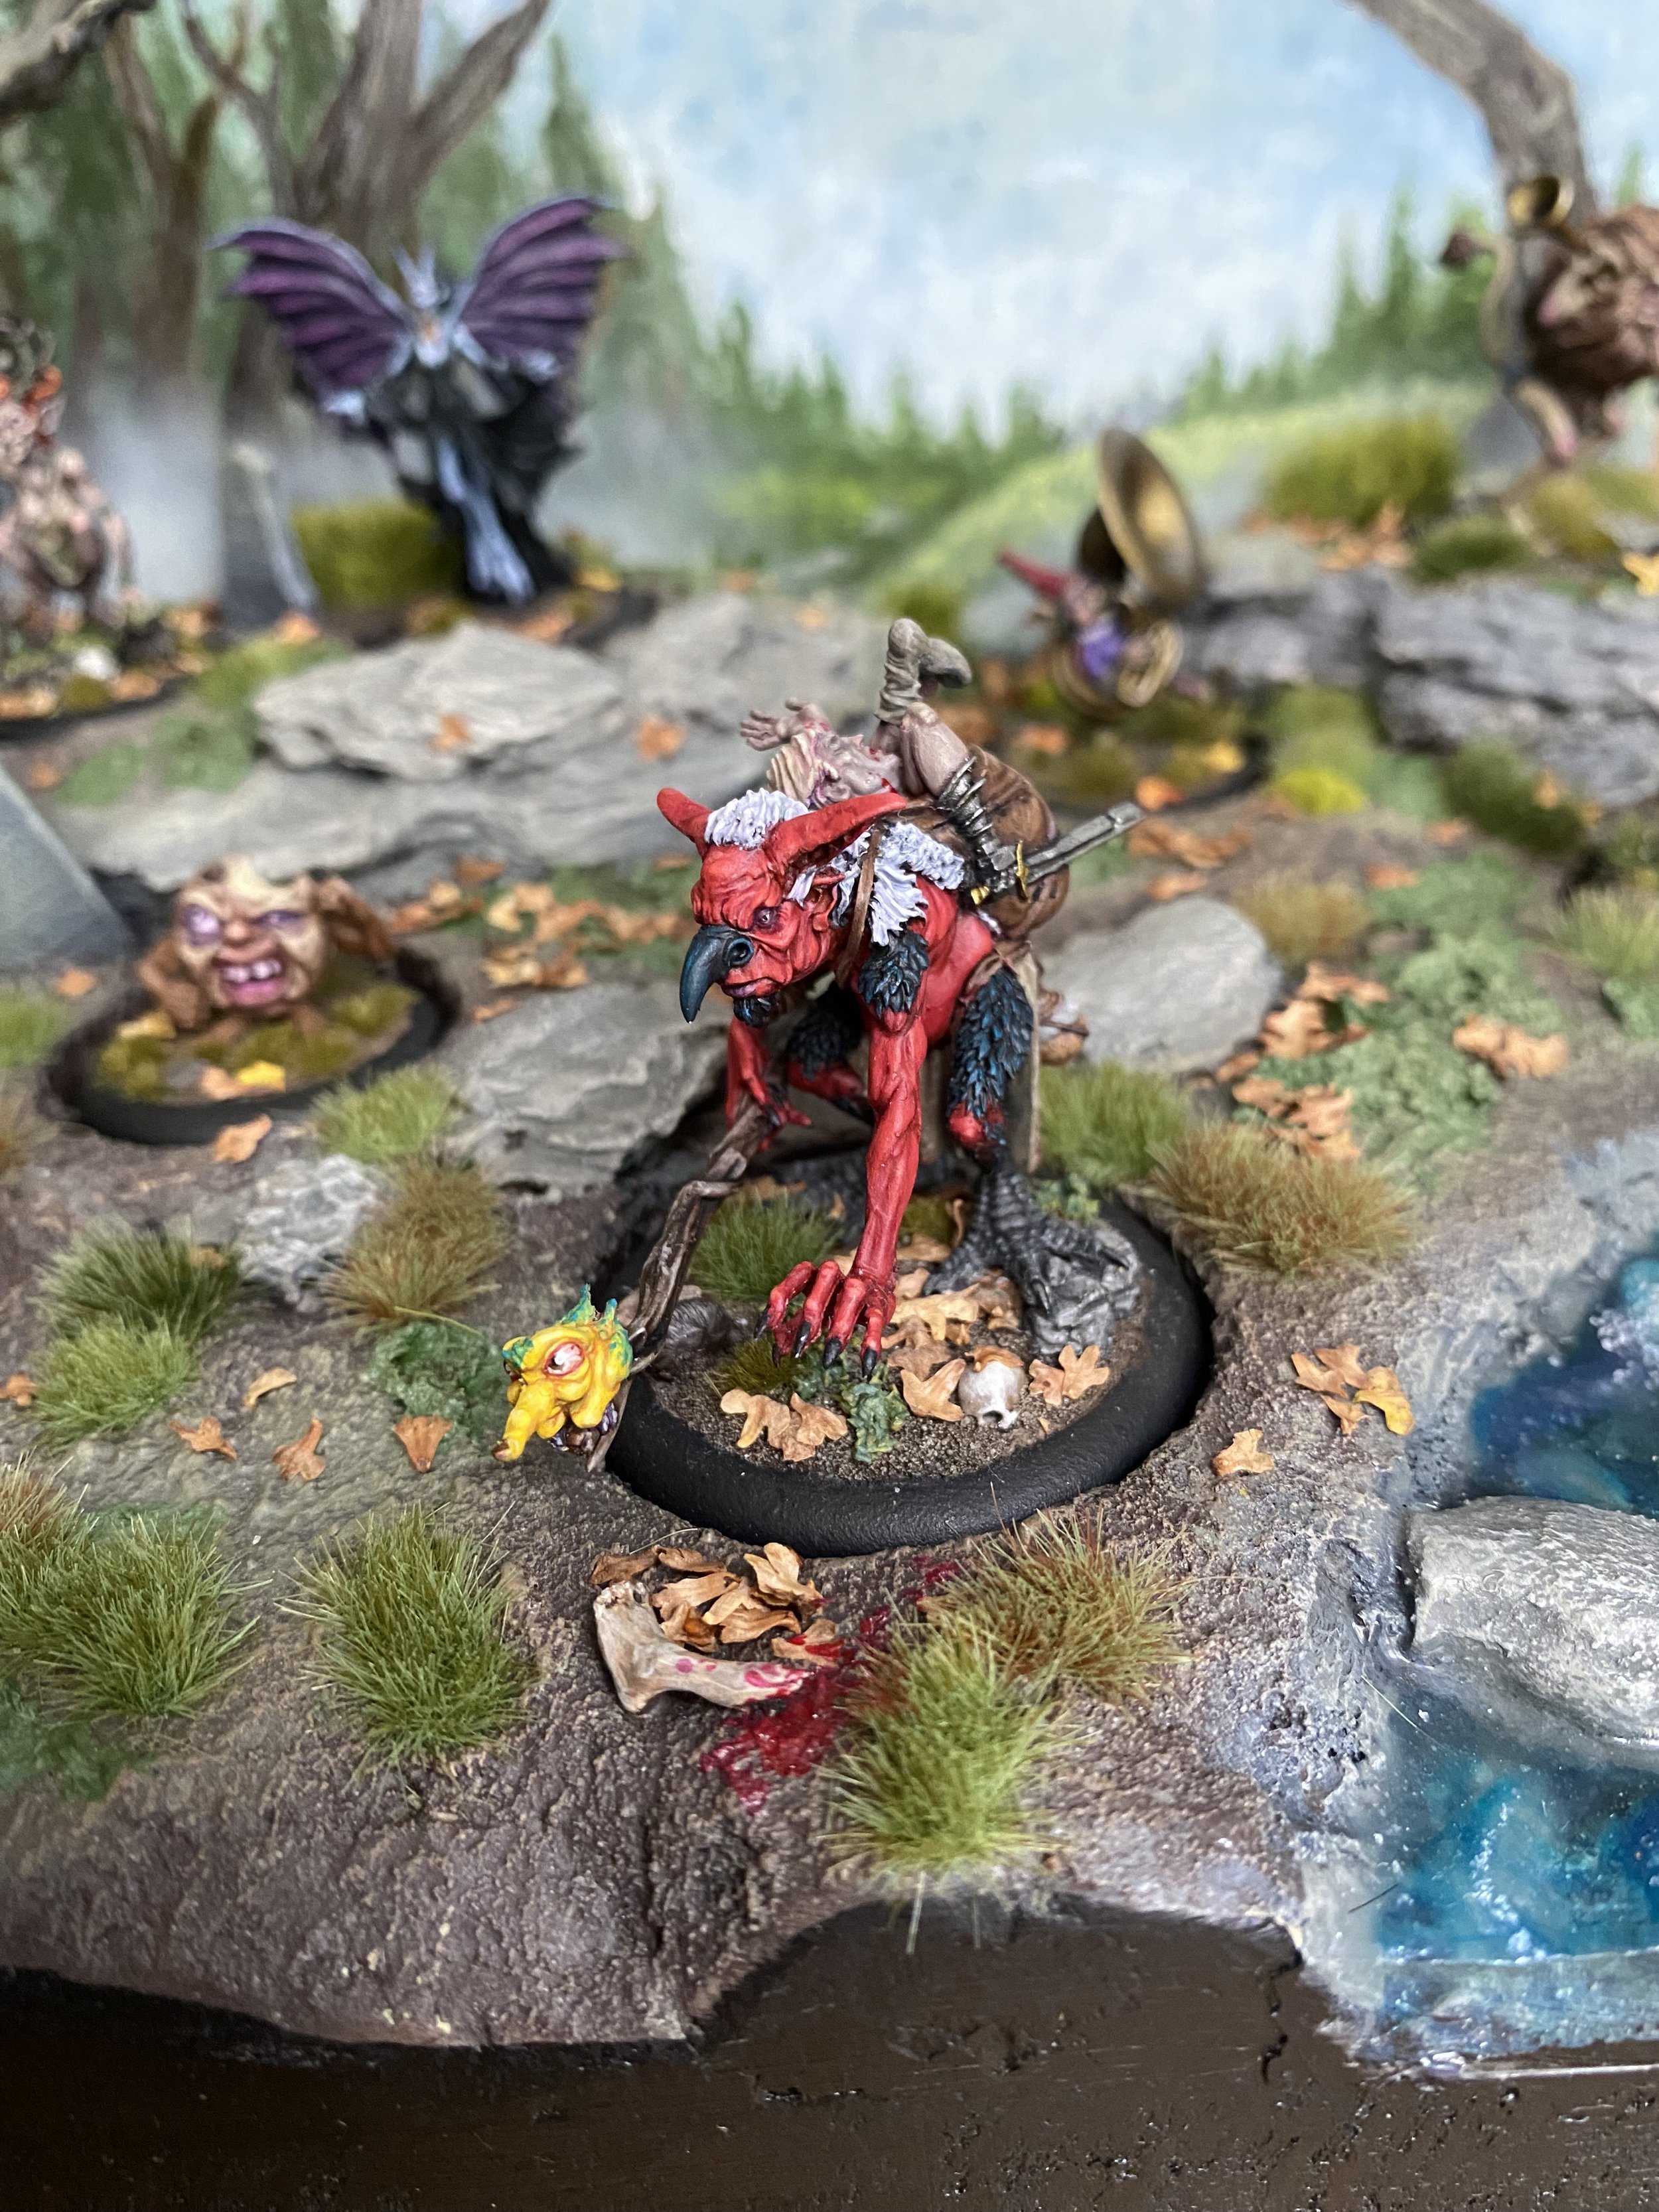
I had considered putting Marley in the back and continuing the OSL I've done on his model on the tree and the gravestones, but decided Morag looked better stalking in the woods.

Lurky lurky..
There is a hole in the tree, which I carved out deeper, intending to sculpt a custom Psychopomp to put in there, but didn't end up having the time. At least for now...
I wanted a plaque of some sort to the front, and decided to go with a banner or scroll. I played around with the format a little, but quickly decided I should go for a fully rendered, fully painted parchment look.

Final Thoughts
There are a few things I'd like to improve, most of which I can. Also, this will definitely not be my last Moonstone Troupe, nor will it be my last display board.
In fact, Longshanks lists ‘Pirates’ as a sub-faction for Shades, so I may just line the next display board right up to this one, continuing the coastline, opening up the waters for future models. Maybe a half-sunken ship? We shall see...
I hope you enjoy looking at this as much as I do.
The kindest of regards,
Magnus

— Thanks Magnus! This is exactly the kind of awesome content we love to see! If Magnus creation has inspired you to greater things then you can pick up the Shades spirit troupe boxes Freaky Fugday and the Shady Bunch from our website. If you have anything similar you’d like to share with us, then contact Suzie through info@moonstonethegame.com.
Mick—